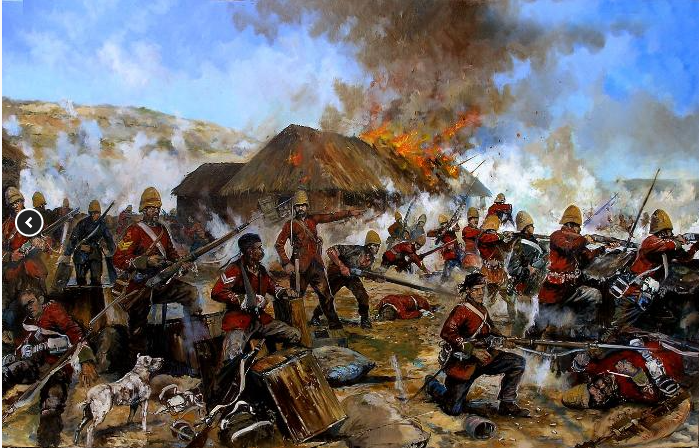
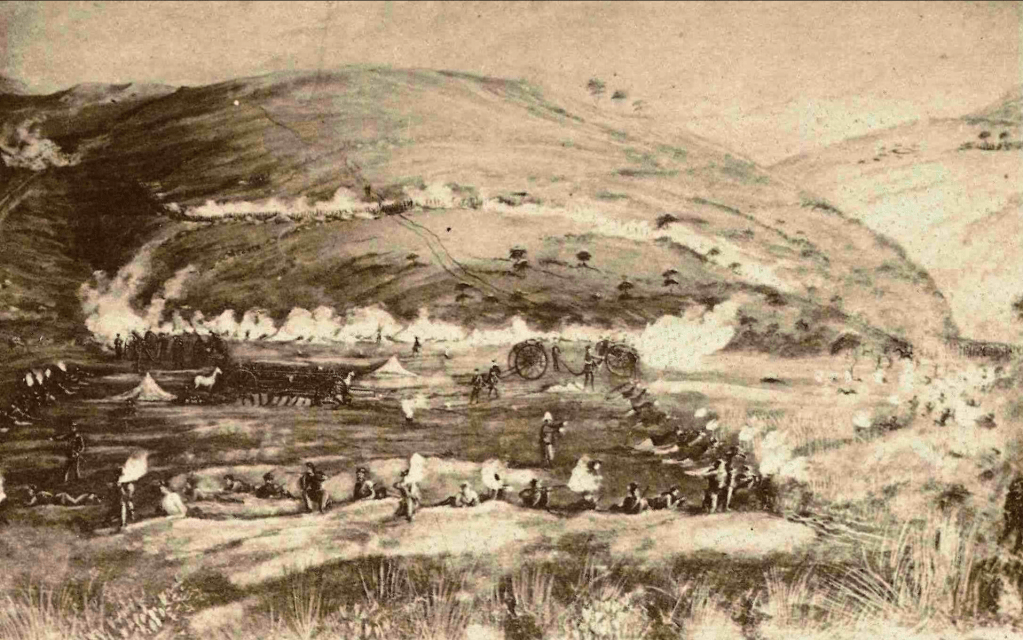
Cecil and I play 2 games of this today. We set the games in the 9th Cape War between the British and Xhosa Tribes in 1879
This is a ruleset I’ve owned for a while, and really wanted to try. Games are fought on a 3×3 board normally, with larger games on a 6×3.
Key Interesting Rules:
Activation Bidding: At the start of the turn, both sides roll 1D10 for each unit. This is the initiative pool for the turn. Each activation, both sides will bid 1D10 from the pool. The higher value will go first. the lower second. If the value is 4+ the activated unit can take 2 actions. if 1-3, 1 action.
Attrition Points: Forces have breakpoints, set a a quarter of the total model count. Taking casualties up to that number generate an attrition point. If you have 3 or more attrition points, at the end of every turn your force leader must test resolve with failure seeing your full force retreat. The key here is that missions can add or remove attrition points as objectives are completed meaning your force can dip in and our of ‘wavering’ as the game progresses.
Missions: You randomly draw a mission after the board is set and 3 objectives are placed in the centerline, but before deployment. This mission will give you your objective, whether or not you care about the 3 points on the centerline, and your deployment. This gives both dynamic deployment, and a bit of mindgame fun as you try and suss out the other players objectives.
Bite the Bullet: 3 times in the game you can reroll (all or nothing) any roll. This includes initiative rolls, any fight rolls, morale rolls, and critically, the ‘I have 3 attrition and need to pass this morale roll or lose’ roll. Spending these wisely felt very important.
Restricted List Building: Forces comprise of a leader, core units, and special units. Forces can take 1 leader, no more special units than core units, and no more than one of each special unit. Units are 4-8 models unless large, which can max at 10. Native forces are usually large and professional forces are maxed at 8. There are some exceptions. Zulu forces, for example, can have a subordinate leader.
Impressions:
I’m very positive on this one.
The Mission and Attrition point system make for very interesting tactics and neat deployments. In both games, Cecil’s Brits deployed on the table within 12″ of his side as an action, but could then still take a second action if their activation die was 4+. I had to move or run on from my edge. However, in game 2, my Mission granted me the same ‘run on’ deployment but with the last unit being deployed in cover and ‘hidden’ as an ambush. So it may have looked to him that I had the same objectives, but then the rug pull. It is actually one of the most effective ambush rules I’ve seen in a tabletop game so far.
There was a lot more contemplation in the activation bidding than I initially thought. Not only trying to go first or second, but having 1 or 2 actions, trying to go second and then win first to get a unit into position then drive them home with an officer.
I was concerned that ‘native’ forces would be immediately overwhelmed by repeating rifles and gatling guns. But even though this game covers peer to peer conflicts like the American Civil War and colonial conflicts like our Cape Wars, it seems to work fine. I can run my warriors and go to ground for 2x movement and a negative modifier for enemy shooting. My charge range is longer. My experienced troops can move quickly through rough going. The British can put up a fight in close combat too, especially if they can get into close formation. If I had some ranged troops (and I will have them available going forward) I think it would have been even closer. But in both games we both hit 2 attrition before he ticked my force over to 3.
We tested units that we feared would be OP. The Gatling gun fired 6 shots per action, with -1 to armour, and -1(ish) to morale. With an officer helping, it can fire 3 times a turn. That seemed like a lot. In practice, with the moderate terrain on the board and the bounding movement from my warriors, it only really shredded a unit as it attempted to charge. Cavalry are easier to shoot, but move fast and can dismount. I like how they’re handled.
The restriction on unit selection is a godsend for me trying to have enough forces both everyone. Looking at the Civil War Box I bought recently, I actually have enough to cover every single unit combination with the exception of US Marines and Texan Rangers. For Anglo-Zulu, I have everything.
The traits and unit costs are also easy to work out, so I’m going to be setting down rules for the Japanese Civil Wars in 1868 and 1877, the Boxer War 1900, and then the Anglo-Sudan War 1884-5. Honestly the figure commitment is low enough that this will be fun enough to keep expanding for. I also think the mission cards are very easy place to expand and keep things fresh, as long as the parameters are kept to.
We did 2 games with a lot of chatting, rules checking, and discussion. But the second game was much faster than the first, and I think 2-3 games a session is very doable.
